
Tech
Does a Bigger Projector Screen Always Mean a Better Picture?

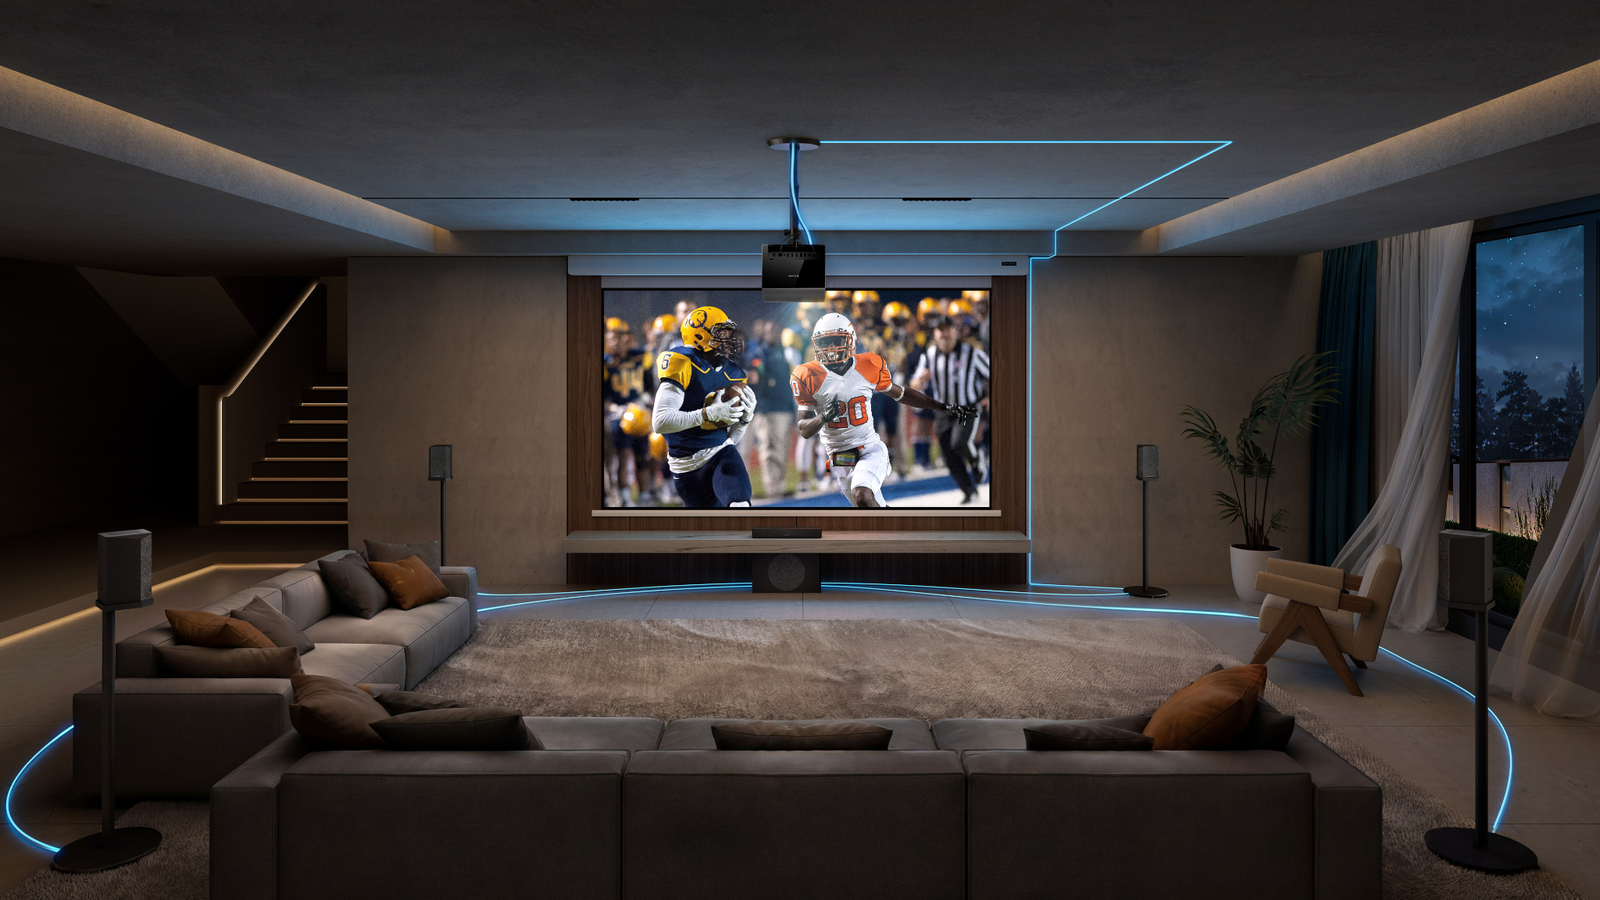
There’s something irresistible about a 150-inch projector screen. It’s enormous, it looks spectacular in home theater photos, and it promises the kind of experience you normally associate with a movie theater.
Then you sit down to watch something.
The picture fills nearly your entire field of vision, but dark scenes look a little washed out. You find yourself turning your head to follow the action. Suddenly, the 120-inch screen you were considering doesn’t seem so small.
A bigger screen can create a more immersive experience, but it doesn’t automatically deliver better picture quality. In fact, increasing screen size can introduce trade-offs in brightness, perceived sharpness, viewing comfort, and installation flexibility.
So how do you know when bigger is actually better?
What Changes When You Go From 120 to 150 Inches?
Let’s begin with the numbers.
Projector screen sizes are measured diagonally, just like televisions. That makes a 150-inch screen sound only 25% larger than a 120-inch model.
But the difference in viewing area is much greater.
| Screen Size | Image Width (16:9) | Image Height | Approx. Image Area |
| 100 inches | 87 inches | 49 inches | 29.7 sq. ft. |
| 120 inches | 105 inches | 59 inches | 42.7 sq. ft. |
| 135 inches | 118 inches | 66 inches | 54.1 sq. ft. |
| 150 inches | 131 inches | 74 inches | 66.8 sq. ft. |
Moving from 120 to 150 inches increases the image area by approximately 56%.
That’s a substantial change. You aren’t simply adding a narrow border around the picture. You’re asking the projector to illuminate considerably more surface area.
And that brings us to the first major trade-off.
A Bigger Image Spreads the Same Light Further
Imagine using a flashlight to illuminate a wall.
When you hold the flashlight close, the illuminated area is relatively small and concentrated. Move it farther away, and the beam spreads over a larger area, making the light less intense.
Projector brightness follows a related principle.
A projector produces a certain amount of light. When the image gets larger, that light spreads across more screen area.
Assuming the same projector output, screen gain, and aspect ratio, increasing the image from 120 to 150 inches reduces the light available per unit of screen area by approximately 36%.
To maintain the same screen luminance, the larger image would require roughly 56% more usable light output.
That doesn’t mean a 150-inch screen will necessarily look dim. It means the projector needs sufficient brightness for the additional area.
Why Brightness Specifications Don’t Tell the Whole Story
Projector brightness is commonly expressed in lumens, but the number on the specification sheet isn’t the only figure that matters.
The projector’s actual output depends on its picture mode, optical settings, and operating conditions.
A highly accurate Cinema mode may produce less light than the projector’s brightest preset. Optical zoom position can also affect light output on some models.
When comparing a home theater projector for different screen sizes, consider whether it delivers adequate brightness in the picture mode you actually intend to watch.
A projector that performs beautifully on a 100-inch screen in a dark room might struggle to produce the same impact at 150 inches in a bright living room.
Practical takeaway: Before increasing screen size, evaluate the projector’s usable brightness and your room’s lighting conditions together.
A slightly smaller, brighter picture can look more dynamic than a larger image with weak contrast.
Viewing Distance Changes the Experience
Picture brightness isn’t the only reason to reconsider an oversized screen.
Your seating position matters just as much.
Think about sitting in the front row of a movie theater. The picture is enormous, but following fast action across the screen can become tiring.
Now imagine sitting near the middle of the theater. The screen still feels large, yet you’re able to take in the scene more comfortably.
The same principle applies at home.
A larger screen occupies more of your field of vision when you’re sitting at the same distance.
Here’s an example for someone seated approximately 10 feet from the screen.
| Screen Size | Approx. Horizontal Viewing Angle | What to Expect |
| 100 inches | 40° | Immersive but relatively easy to take in |
| 120 inches | 47° | Expansive, cinematic viewing |
| 150 inches | 57° | Very immersive, potentially overwhelming for some viewers |
These are approximate geometric values for 16:9 screens, not universal comfort ratings.
Personal preference, eyesight, and the type of content all influence the ideal viewing angle.
For movies with wide landscape shots, a large field of view can be wonderful. For sports broadcasts, you may prefer to see the scoreboard and the action without shifting your eyes constantly.
Gaming introduces another consideration. A large image can make an open-world adventure more exciting, but it may also place interface elements far apart in your field of vision.
Before choosing the screen, sit at your intended viewing distance and mark the image boundaries on the wall with painter’s tape.
You’ll learn more from five minutes in your actual room than from dozens of staged home theater photographs.
Does 4K Still Look Sharp at 150 Inches?
Yes, a 4K image can look excellent at 150 inches. But the quality of the experience depends on more than resolution.
For a given 16:9 4K image, increasing screen size doesn’t add more pixels. It spreads the same image detail across a larger physical area.
At a fixed seating distance, individual picture elements become larger as the screen grows.
That can make differences in source quality and image processing easier to notice.
For example, consider watching the same movie from three different sources:
- A high-quality 4K Blu-ray: Often provides greater consistency in fine detail with fewer visible compression artifacts.
- A well-encoded 4K streaming title: Can look excellent, although available detail depends on compression and stream quality.
- A heavily compressed HD stream: May reveal softness, banding, or compression artifacts more readily on a large screen.
A 150-inch screen won’t improve the information contained in the video source.
Instead, it makes both the strengths and weaknesses of that source more visible.
Don’t Overlook Optical Quality
Resolution is only part of image clarity.
Lens quality, focus uniformity, and optical alignment also influence the result.
On a large projection surface, slight softness near the edges may become more noticeable, especially when viewing text, menus, or detailed graphics.
A well-designed 4K projection system with good optics can maintain convincing sharpness across a very large image.
However, you should evaluate actual picture quality rather than assuming that every product labeled 4K will look identical.
If possible, inspect fine details near the corners as well as the center before finalizing your setup.
The Screen Material Deserves More Attention Than It Gets
Home theater shoppers often spend weeks comparing projectors and only a few minutes choosing the screen.
That’s worth reconsidering.
The projection surface influences perceived brightness, color neutrality, viewing angle, and image uniformity.
A smooth, neutral screen can help reproduce the projected picture consistently. A painted wall with visible texture or uneven coloration may introduce unwanted variations.
Different materials also direct reflected light differently.
| Screen Material | Main Characteristic | Suitable Environment |
| Matte white | Broad viewing angles and relatively neutral light distribution | Rooms with good light control |
| Gray screen | Can lower overall reflected light and perceived black level | Selected setups with suitable brightness |
| Ambient light rejecting (ALR) | Redirects or reduces certain unwanted light reflections | Rooms where ambient light cannot be fully controlled |
| High-gain screen | Concentrates more reflected light toward certain viewing directions | Installations needing additional on-axis brightness, with viewing-angle trade-offs |
These categories are general. Actual performance varies by material and product design.
For a dedicated theater with controlled lighting, a matte white projector screen can be an appealing option because it typically provides a neutral viewing surface and accommodates a broad seating arrangement.
That matters when several family members or friends are watching from different positions.
But screen material and projector placement must be compatible.
A high-gain screen, for example, may provide a brighter image from the center seat while appearing less uniform or dimmer from wider angles.
Certain ALR materials also require specific projector positions and light paths.
The screen and projector should be selected as a system, not as unrelated purchases.
The Room May Be the Real Limiting Factor
Let’s say your projector can produce a satisfactory 150-inch image, and your seating distance feels comfortable.
There’s still the room itself.
A 150-inch, 16:9 screen is almost 11 feet wide and over 6 feet tall.
That’s a demanding installation for many homes.
In a room with an 8-foot ceiling, the screen’s visible image alone consumes approximately 74 inches of vertical space, leaving only about 22 inches for the space above and below it.
Once you account for the screen frame, housing, furniture, and mounting clearances, the available space can disappear quickly.
You’ll also need to consider several less obvious factors:
Wall and ceiling reflections: Light bouncing off pale nearby surfaces can return to the screen and reduce perceived contrast.
Windows and ambient lighting: Daylight that seems manageable on a smaller picture may become more disruptive when the available light is spread over a larger area.
Projector placement: Depending on the throw ratio and zoom range, increasing screen size may require positioning the projector farther from the wall.
Speaker placement: A very wide screen can leave less room for speakers alongside it, affecting your audio layout.
In a dedicated theater, you may have enough freedom to solve these issues.
In a shared living room, the compromises can be more significant.
When a 150-Inch Screen Is Worth It
None of these trade-offs means you should avoid large screens.
Under the right conditions, a 150-inch picture can be fantastic.
It may be especially appealing when:
- You have a spacious, light-controlled media room.
- Your projector provides sufficient usable brightness at the intended image size.
- Seating is far enough away for comfortable viewing.
- The screen can be installed without compromising walkways or speaker placement.
- Movies and cinematic entertainment are among your main viewing priorities.
For a dedicated theater with carefully planned acoustics and lighting, a larger screen can create the sense of immersion that makes projection so attractive.
But if you’re watching mostly daytime sports in a bright family room, or your sofa sits relatively close to the wall, the same screen may be less rewarding.
A Simple Real-World Comparison
Consider two households.
Home A: The Dedicated Theater
A family has a basement media room with controlled lighting, a seating distance of 12 feet, and enough wall space for a 150-inch screen.
Their projector delivers adequate brightness at that size, and the screen is properly positioned.
For this household, the additional scale may be worth the investment.
Home B: The Everyday Living Room
Another family has a living room with large windows, an 8-foot ceiling, and a sofa approximately 9 feet from the screen wall.
They watch movies occasionally but also use the room for sports, streaming shows, and games.
A 120-inch screen—or even a 100-inch model—could provide a more comfortable and versatile experience.
Neither household has made the wrong decision.
They’re simply working with different spaces and viewing priorities.
How to Choose Your Screen Size Without Guessing
Before ordering a new screen, try this practical five-step test.
Step 1: Measure your seating distance. Measure from your normal eye position to the proposed screen surface.
Step 2: Mark out two screen sizes. Use removable tape to compare a 120-inch and 150-inch outline, or two sizes appropriate for your room.
Step 3: Check the projector’s capabilities. Review its supported image sizes, placement range, and usable brightness. Don’t assume maximum image size equals optimal image quality.
Step 4: Evaluate your lighting. Consider how the room looks during your normal viewing hours, not only at night with every light turned off.
Step 5: Think about the content you watch most. Movies, sports, video games, and casual television viewing don’t always benefit equally from an extremely large image.
If possible, test the projected picture at both sizes using familiar scenes.
Pay attention to skin tones, shadow detail, subtitles, and image sharpness near the corners.
These details reveal much more than a colorful demonstration video.
Bigger Isn’t Always Better. Better Matched Is Better.
The appeal of a giant projector screen is easy to understand. Few home entertainment upgrades can create such an immediate sense of scale.
But screen size is only one part of the experience.
Brightness, viewing distance, room dimensions, projection optics, and screen material all determine whether the bigger picture is actually the more enjoyable one.
A 150-inch screen can be extraordinary in the right environment. A 120-inch screen can be equally impressive when it better suits the room.
Choose the size that lets your equipment perform well and your audience watch comfortably. When the lights go down and the movie begins, that’s what you’ll appreciate most—not the number on the screen’s packaging.


Bookkeeping Errors That Trigger HMRC VAT Return Queries
Hiring Your First Employee: A Payroll Checklist for UK Small Businesses

Sorting Out Theboringmagazine Com From Its Lookalike Domains

Who Is William Lancelot Bowles Jr.? The Intriguing Untold Tale of Phylicia Rashad’s Ex-Husband

Who Is Chanelle Haynes? The Fascinating True Story of Cornell Haynes III’s Sister

The Inspiring Story of Kelly Davis Rucker: From Struggle to Success
-
 Celebrity4 months ago
Who Is William Lancelot Bowles Jr.? The Intriguing Untold Tale of Phylicia Rashad’s Ex-Husband
-
 Celebrity4 months ago
Who Is Chanelle Haynes? The Fascinating True Story of Cornell Haynes III’s Sister
-
 Celebrity4 months ago
The Inspiring Story of Kelly Davis Rucker: From Struggle to Success
-

 Technology2 months ago
Voozon.com Review: Is It Legit? Features, Benefits, and What to Know
-

 Celebrity2 months ago
Who Is Dallas Yocum? The Fascinating Life Story of Mike Lindell’s Ex-Wife
-

 Celebrity2 months ago
Who Is Noah Wilde West? Everything to Know About Chyler Leigh’s Son
-

 Blog2 months ago
Who Is Cassandra Jade Estevez? The Captivating Life Behind Casey Huffman Wife
-

 Business2 months ago
UploadArticle.com Review: Is It the Best Free Platform to Upload Articles?